Photographing Star Trails Part-4

Post Processing of Star Trail Images

  • Here’s my workflow post-processing of Star Trail images. I empty the storage card of all the cameras onto the desktop, and into the solid state drive so that the processing of a large number of files is quick. There are always many sets of star trails that Neelam & me have captured on site. The next step is to browse through all the images and identify the sets of star trails. I shift the separate sets of trails into different sub folders with proper names. At this stage it is important to exclude the test images that have been clicked in between sets. Usually it is seen that people incorporate the test frames while making the final image, these test frames contribute to the image in a disjointed or even shifted manner. You also need to eliminate the test shots of various exposures. Only the main continuous part of the sequence should be included and all the rest should be excluded.
  • All our original shots are always in raw format, without exception. The next step is to select a set of images and then convert the raw images into jpegs. I use Adobe Camera Raw inside Photoshop to apply changes and convert from raw images to Jpegs for the entire set of images in one go. Lightroom can be used in exactly the same manner to do the job.
  • The underlying raw processing engine is actually the same for both Photoshop and Lightroom.

  • Here are some thoughts uppermost in my mind when converting from raw to jpegs for the purposes of making a star trail
    1. I like to retain star colour by reducing highlights and increasing vibrance.
    2. I do not like too many stars in my star trail images. Too many stars form a sort of bright background in the image. I like less stars in my star trail images and towards that end I reduce the exposure, sometimes drastically up to -2.
    3. If the location was in or near a city, with bright lights in the frame, then I drastically reduce the highlights as well as the whites.
  • After the jpegs are obtained from the Adobe raw conversion, I browse through all of the converted images for problems. Usually there are aeroplanes in multitude of images. If I want to remove planes from the images, then all the images with planes need to be opened in Photoshop and planes removed using the Spot Healing Brush Tool. You need to reduce the brush size and brush along the path of the plane to remove the aeroplane streak. Each of the image which contains a plane streak needs to be edited in Photoshop. Since the planes are in separate images, the stars don’t get affected in the final star trail image. Here is an image from San Francisco with a number of planes in it. Below you can see an image from New York where all the planes have been removed from each of the sub-frame.
  • The next step is to blend all the jpeg images into one. I use the software known as “Startrail” which is available free for download from www.startrails.de It is very simple software and does a quick job of processing the star trail image. If you happen to use a mac, then you can use Starstax which is a similar software. Startrail and Starstax have a couple of options like falling stars, and making frames suitable to be made into a time-lapse movie where you can see the star trails progressively grow frame by frame.
  • You can easily blend together all the frames of a star trail in Photoshop. Use these functions of Photoshop:

    1. To load all the jpegs as layers, use – File > Scripts > Load Files into Stack
    2. To blend together all layers – select all layers in the layers panel and change the blending mode of all the layers to lighten.
    3. Flatten image to make a single layer – Layer > Flatten Imageo It’s that simple.

    Some additional post-processing that I do in star trails is to remove the gaps in the trails. For removing the gap I use the command in Photoshop – Filter > Stylize > Diffuse(Anisotropic).
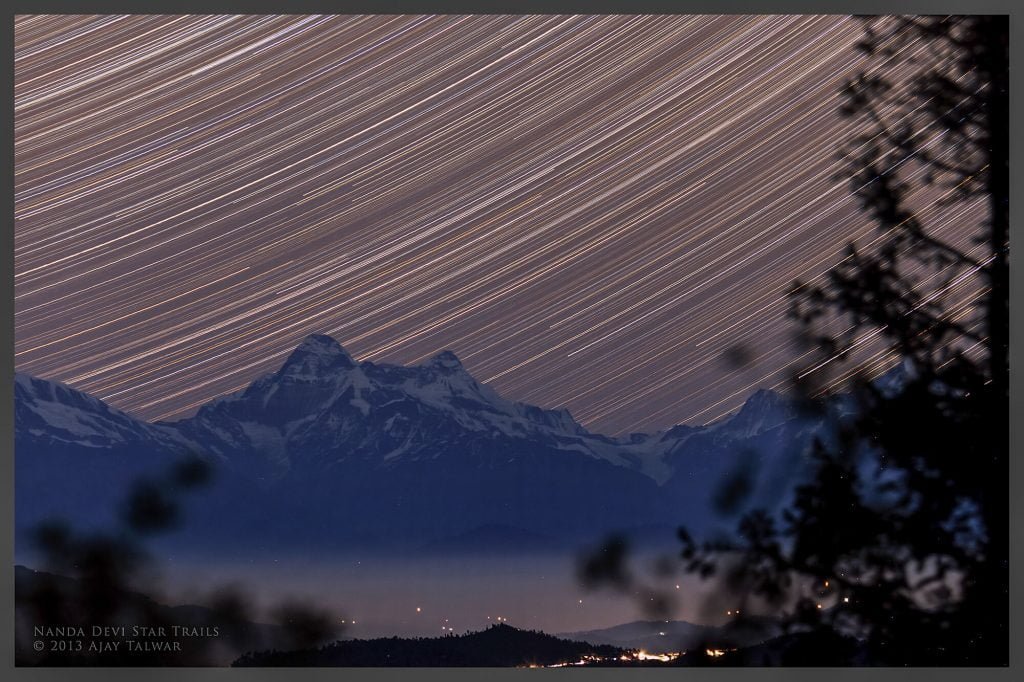
    Nanda Devi Star Trails
  • Sometimes I like to sharpen the star trails, especially when shooting in city conditions, the star trails are overwhelmed by the city lights, sharpening the trail brightens the trails and become more visible. I use this command in Photoshop – Filter > Sharpen > Unsharp Mask. Generally, I like to use this command on a separate layer and then change the blending mode of this layer to lighten to remove the dark halos around the trails.
  • I sincerely hope that this essay in four parts and the associated images have inspired you to take up star trail photography. The process is simple and results fascinating!

    Leave a comment

    error: Content is protected !!