Photographing Star Trails Part-3

Method of Star Trail Photography

Star trails are mesmerising. It is as if the spirals made of bright stars are trapping people’s eyes. You’re showing something remarkable to the world. Something that’s happening out there, in the universe, but no one can see with the naked eye:
In your endeavour to shoot star trails, you are on a beautiful location, stars are shining and the landscape is unique, the site is secluded, no one around to disturb you with torches and lights.Here’s how you start off your star trails.

Checklist

  • Before starting, check camera battery (& extra battery) are fully charged; memory card and spare empty.
  • Setup your tripod on firm ground and hang the weight laden cloth bag under the tripod. The hanging weight should not sway with wind. Whenever possible, keep the tripod low.
  • Set camera to manual mode, set ISO speed, set aperture. Turn off Long Exposure Noise Reduction. Set image quality to RAW, set exposure, set autofocus to manual, on the lens. Display Image after shooting – off, camera auto sleep – off, Camera to single shot, timer – off, set flash – off.
  • Attach the camera to the tripod, and check any movement. Attach the desired lens, attach the hood and set the correct focal length if you are using a zoom lens.
  • Focus accurately with live view, on a bright star. Use maximum zoom. Don’t touch the focusing ring, hood or change zoom after focusing. You can focus on a very bright star in one direction and then frame your picture in any other direction. Just take care that you do not move the focusing ring while framing. Take care also that the focus is kept in MF before shooting.
  • Frame your night landscape, you can only frame nicely after you click and see. Check that the horizon is horizontal. Whenever you shift the tripod for a better frame, check the bubble level of the tripod. Follow the Rule of Thirds of photography; walk your eye on the perimeter off the frame. Check your framing by shooting a quick and dirty shot. Remember the small screen behind the camera is a poor indicator of framing and exposure. Zoom in and check entire image by scrolling. You may like to use a tab for checking the frame (larger screen will beneficial). If you are using a zoom lens, and you need to change the focal length while framing, you will need to focus again.
  • Take a test shot for checking exposure, check the histogram, increase exposure till histogram hill is separated from the left side off the histogram graph. Is the earth portion exposed properly as desired? Correct or less exposure will give star colours; overexposure will render all the stars white.
  • Programme the intervalometer carefully; gap between exposures should be bare minimum (1-3 sec). Hang the intervalometer at a convenient place, so you can reach it when you want to shut off the sequence, and is visible from far.
  • Can your memory card accommodate the number of planned exposures? After how long will you have to change the card?
  • Start your light frame sequence. Tripod should not move at all during the sequence. More frames the better. Watch out for dew formation around you.

  • Protect your memory card
    ; back up your images as soon as possible.
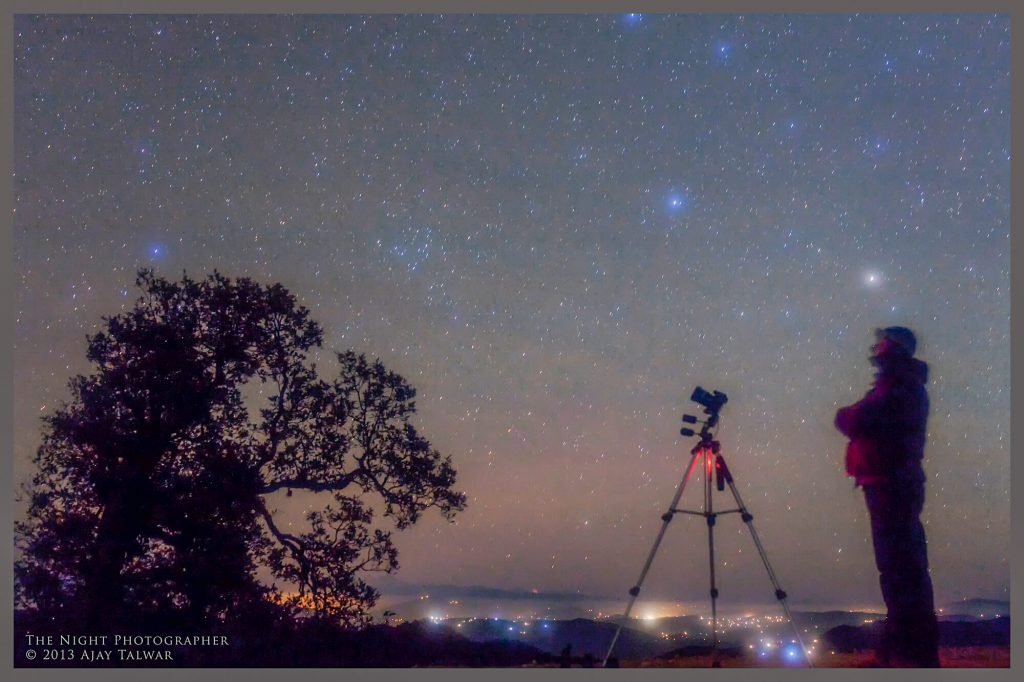
  • The main process of Star Trail photography consists of four parts:

  • Focus
  • Frame
  • Test Exposure
  • Start Exposure Sequence
  • Step 1 – Focusing is important and needs to be done slowly and accurately. You may like to connect the camera to your laptop or a tab to get a bigger picture, so as to focus sharply. You could also carry a magnifying glass to check accurate focus. Start live view and point to a bright star to focus. Once the camera is focused, you can change the direction of the camera to frame.

    Step 2 – Framing the sky is one part, but getting some interesting part of the Earth is the artistic touch that the photographer provides. Take care not to have direct bright lights in the frame as well as halos from the light just outside the frame. The tripod & camera setup must not move at all during the entire sequence. You could tie the tripod down to some rigid structure.

    Step3 – Test exposure is clicking an image and checking its histogram to see if the exposure is right. You do not want to keep the ISO at its maximum, you will certainly get more stars, but they all will be saturated, lose their natural colours and become white. You could try an ISO of 200 or 400. The length of the exposure will determine the length of the star trail on the sensor, longer the exposure, longer the star trail. But you need not increase the exposure just to get a very long star trail, there is a trick with digital cameras.

    Once you have decided the optimum exposure, then you need to shoot the same exposure over and over, with a minimum gap in between exposures. Later these individual shots would be blended together for the final star trail image.

    Step 4 – Exposure Sequence is the main process of star trail photography. Program the intervalometer carefully. Sometimes astrophotographers shoot a star trail sequence for the entire night! In such case you need to ascertain if the storage card and battery would last for the entire duration of the sequence. You can either use multiple batteries in a grip, or use an AC adapter.
    For the images, you could connect a laptop so that all images are downloaded to the computer and there is no limitation of the storage card.

    Avoiding common mistakes while shooting star trails:
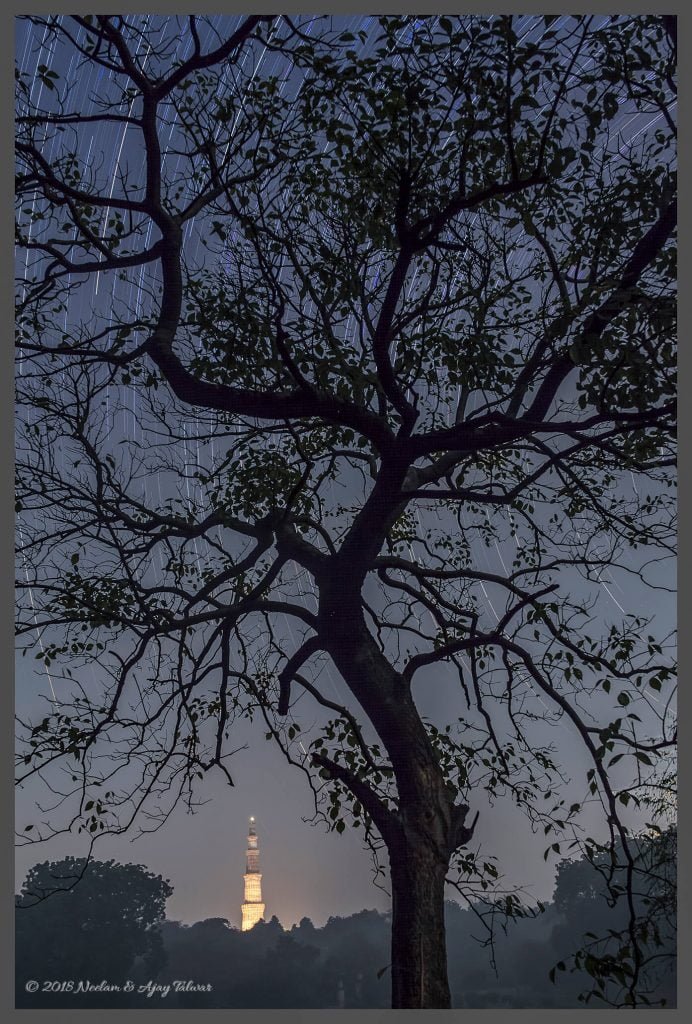
  • Level the camera properly.
  • You should include a good amount of terrestrial object in the frame, many a times you have only top half of a tree in the field; that looks bad, you should frame in such a manner that full tree or the base of any structure should be captured in the frame.
  • Exclude power cables, telephone cables, towers and water tanks wires in the field of view. These look very bad in the final image.
  • A lot of people want too many stars in their star trail, to this end they use higher ISO setting, and in the process they saturate the star colour. Actually you want the opposite – less number of stars in the star trail, so that it does not become like a bright background -with no details. A star trail image looks good with less stars and when the star colour is retained.
  • Many a times you have gaps in trails, that’s because you did not programme the intervalometer properly, and the gap in between exposures was long or you shot the exposures manually.
  • You need to setup your camera where no interference from vehicle lights, avoid other observers who will be shining lights in the periphery of your field of view during your entire sequence.
  • You should plan for minimum 2 hours of continuous shooting, minimum. Towards that end you need to have sufficient storage space, empty your card before starting, also the battery needs to last for the full time you have planned. While you are testing – focusing, framing etc. use one battery, but just before you start the sequence you should change to a fully charged battery.
  • Shooting star trails from the city:

    Normally an astrophotographer would not think of shooting star trails inside a city claiming it to be too bright and that stars not visible, but it is very much possible. Here you can see two examples of star trail shot from middle of New Delhi & Lucknow.

    Shooting star trails from the city would certainly be a challenging situation. Although you will never be able to photograph the number of stars you catch from dark location, nevertheless shooting star trails would be nice from the confines of a bright city. Keep the following points in mind while shooting star trails from the city:

  • You need to keep exposures really short, the histogram is your guide to correct exposure. As soon as the histogram separates from the left side, that is your correct exposure. Single exposure could be as short as 5 seconds. Do take care that the histogram does not touch the right side at all, i.e. there are no bright saturated spots.
  • Since you are shooting short exposures you will need to shoot many more images, you should have enough spare storage space in your card. If your exposure is 5 seconds, then you will gather 720 exposures in one hour!
    Focusing is very important for shooting star trails in the city. If the focus is slightly off even by a millimetre, light from fainter stars will spread out, and consequently these fainter stars will get lost in the bright city background.
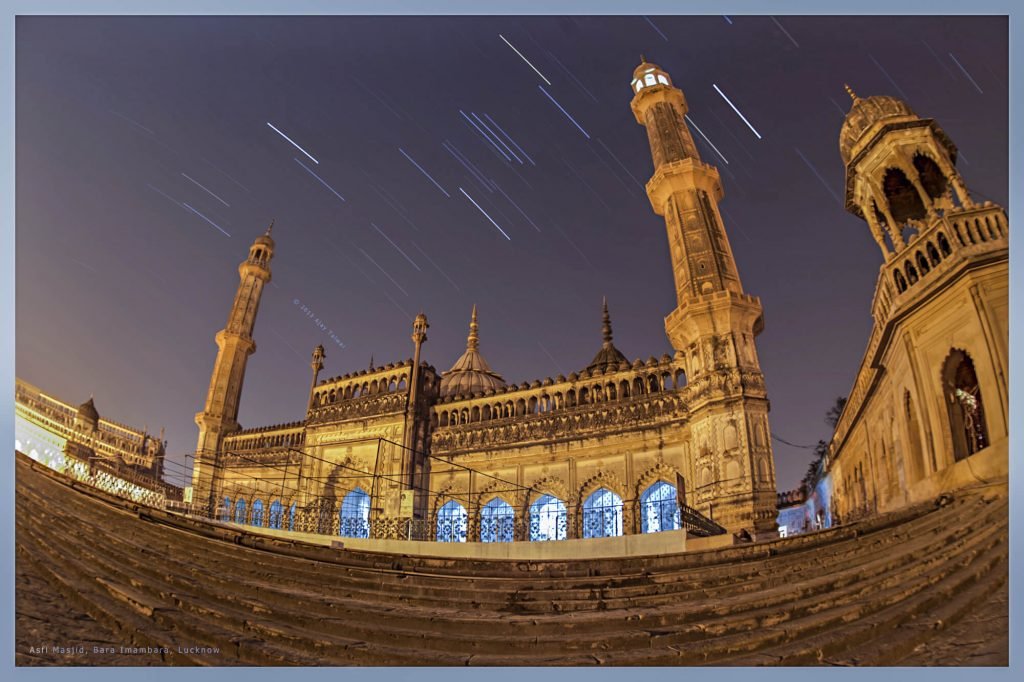
  • You need to keep a lookout for clear transparent nights in your city. The best seasons are in the monsoons, when clear nights come un-announced. You should be ready with a fully charged battery! Winter months are also likely to be clear and transparent.
  • Plan to shoot late at night when the city has switched off most of its lights.
  • Look out for bright constellations. Winter Hexagon is a large part of the sky which contains really bright stars like Sirius, Betelgeuse, Rigel, Castor… Plan to shoot when the winter hexagon is rising or setting on the horizon. Other areas of bright stars in the sky are Sagittarius, Scorpius, Cassiopeia etc.
  • Keep a lookout for planets and their conjunctions. Like the conjunction of bright Venus and Jupiter. Trails of planets are easy to shoot from the city.
  • Leave a comment

    error: Content is protected !!